Easy DIY Wall Art Ideas for Beginners: 8 Projects That Look Expensive
Some links in our guides may earn us a commission at no extra cost to you — here's why we only recommend what we'd buy.
Jump to a section
- Before You Start: The Beginner Kit
- 1. Abstract Blob Canvas (The 20-Minute Classic)
- 2. Textured Plaster Art (The Expensive-Looking One)
- 3. Framed Fabric and Textiles
- 4. Black-and-White Photo Grid
- 5. Botanical Line Drawings
- 6. Painted Arch Mural (No Artistic Skill Required)
- 7. Thrift-Store Frame Gallery Wall
- 8. Dried Flower and Grass Art
- How to Make Cheap Wall Art Look Expensive
- Beginner Mistakes to Skip
- Start This Weekend
Bare walls make even a nicely furnished room feel unfinished — but art-store prices make filling them feel impossible. The workaround: make it yourself. These easy DIY wall art ideas for beginners need no drawing talent and no expensive supplies. Each project below lists exactly what you need and the steps to finish it in an afternoon, plus the styling tricks that make handmade pieces look like they came from a gallery.
Before You Start: The Beginner Kit
You can make every project in this guide with a small shared kit: a few blank canvases (buy multi-packs — they cost far less per piece), acrylic paints in three or four colors you love, a basic brush set, painter's tape, and a glue gun. Thrift stores are the other half of the kit: frames, old books with nice illustrations, and fabric scraps all become art supplies. Total startup cost is modest, and the kit covers dozens of future pieces.
Tip: pick one limited color palette for all your pieces — three colors plus neutrals. A cohesive palette is the main reason grouped DIY art looks intentional instead of crafty.
1. Abstract Blob Canvas (The 20-Minute Classic)
You need: canvas, 2–3 paint colors, a large flat brush.
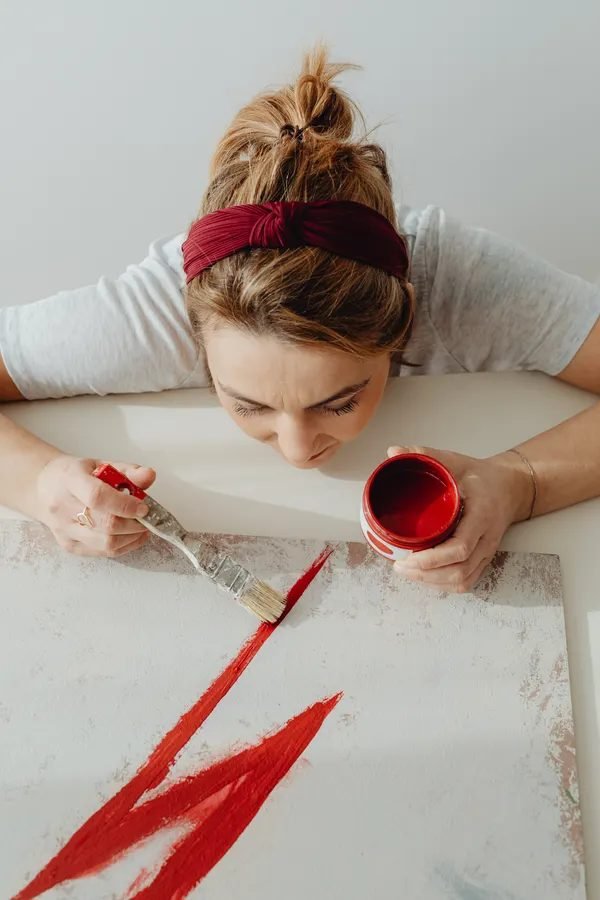
Steps: paint the whole canvas your background color and let it dry. Then, with the brush loaded generously, paint three to five large organic shapes ("blobs") in your accent colors, letting edges stay loose. Done. The secret is scale — big simple shapes read as modern art; small fussy ones read as a school project. Hang it in a thrifted frame or leave the edges painted for a finished look.
2. Textured Plaster Art (The Expensive-Looking One)
You need: canvas, lightweight spackle or plaster, a putty knife or old credit card.
Steps: spread plaster across the canvas in sweeping arcs, waves, or ridges — texture is the whole point, so be generous. Let it dry fully (usually overnight), then paint it one solid color: warm white, clay, or charcoal all look high-end. This technique mimics the sculptural minimalist art sold for hundreds, and the monochrome finish is what sells the expensive look.
3. Framed Fabric and Textiles
You need: thrifted frames, fabric scraps, tea towels, or scarves.
Steps: cut fabric slightly larger than the frame backing, stretch it smooth, and secure it behind the glass or directly in the frame. Interesting textiles — a vintage scarf, a piece of linen, even a striking tea towel — become instant art. Group three in matching frames for a set that looks deliberately curated.
4. Black-and-White Photo Grid
You need: your own photos, a printer (or a print shop), matching cheap frames.
Steps: convert favorite photos to black and white — the monochrome treatment unifies totally different images into one cohesive set. Print them all the same size, frame identically, and hang in a tight grid with equal spacing. Personal photos displayed with gallery discipline look like an intentional collection, not a scrapbook.
5. Botanical Line Drawings
You need: paper, a black fineliner pen, frames.
Steps: draw simple single-line leaves and stems — look at a real plant and trace its gesture loosely. Imperfection is the aesthetic here; botanical line art is supposed to feel hand-drawn. If freehand feels scary, lightly pencil a guide first. Three small botanical drawings in a row make a classic, calm grouping for bedrooms and hallways.
6. Painted Arch Mural (No Artistic Skill Required)
You need: painter's tape, a small roller, one paint color.
Steps: tape a large arch shape directly on the wall (use a pencil tied to a string as a compass for the curve), roll on two coats, and peel the tape while the second coat is still slightly tacky for crisp edges. An arch in terracotta or sage behind a bed, desk, or reading chair creates a focal point that looks like a designer feature wall — it is just geometry and paint.
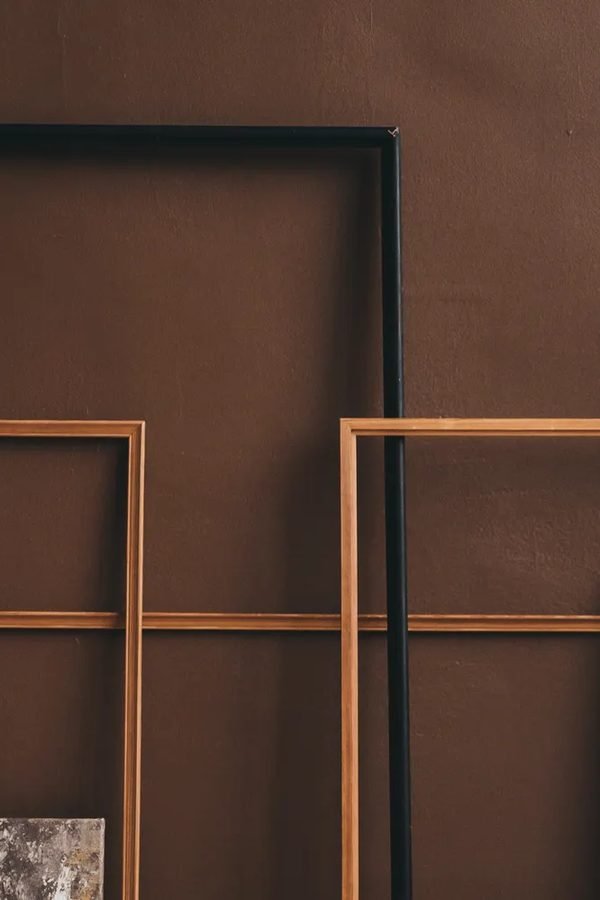
7. Thrift-Store Frame Gallery Wall
You need: mismatched thrifted frames, spray paint (optional), free printables or your own photos.
Steps: collect frames in various sizes over a few thrift trips. Spray-paint them all one color (matte black, brass, or white) to unify the chaos, fill with printables, postcards, or photos, and plan the layout on the floor before hanging anything. Renters: use adhesive hanging strips rated for each frame's weight — no holes needed.
8. Dried Flower and Grass Art
You need: dried stems (pampas, wheat, lavender), a simple frame or a hanging branch.
Steps: arrange dried stems in a tall vase as a sculptural piece, or press flat flowers between book pages for a week and frame the results. Dried botanicals cost almost nothing, last for years, and bring the natural texture that makes a room feel finished. Forage responsibly — only where it is allowed — or buy one bunch and split it across several small arrangements.
How to Make Cheap Wall Art Look Expensive
The difference between "craft project" and "art" is almost entirely presentation:
- Frame everything. A frame — even a cheap one — signals "this is finished." Unframed canvas edges look dorm-room; framed, the same piece looks gallery.
- Go big. One large piece has more presence than four small ones. The most common DIY mistake is making everything too small for the wall.
- Hang at eye level. The center of the piece should sit roughly 145 cm from the floor — most people hang art too high.
- Leave breathing room. Art crammed edge-to-edge looks cluttered. Space pieces at least a hand-width apart.
- Stick to your palette. Three colors plus neutrals across all pieces ties a whole wall together, even when the techniques differ.
Tip: photograph your wall and look at it on your phone screen. The small preview reveals balance problems your eyes miss when you are standing two feet away.
Beginner Mistakes to Skip
- Buying supplies per project. Build the shared kit once instead — it is cheaper and removes the friction that stops you starting.
- Too many colors. Beginners almost always use too many colors. Restraint reads as taste.
- Hanging before planning. Lay the arrangement on the floor first, or cut paper templates and tape them to the wall. Moving tape is free; patching nail holes is not.
- Waiting until you are "good enough." Abstract and textured pieces genuinely need no skill — start there and let confidence build.
Start This Weekend
Pick one project — the blob canvas if you want fast, the plaster art if you want impressive — and finish it fully: frame it, hang it at the right height, step back. One finished piece on the wall teaches you more than five half-started canvases in the closet. Walls fill up faster than you think once you realize you are allowed to make the art yourself.